快捷使用和ChatGPT-Next-Web部署教程 一键免费部署你的跨平台私人 ChatGPT 应用
搭建属于自己的ChatGPT Web
搭建属于自己的ChatGPT Web页面(ChatGPT Next Web使用详解)
github开源地址: https://github.com/Yidadaa/ChatGPT-Next-Web/tree/main
演示 Demo: https://chat-gpt-next-web.vercel.app/
加入 Discord: https://discord.gg/zrhvHCr79N
官方有两种搭建方式,第一种无需服务器,直接部署在Vercel 上;第二种部署在自己的服务器上。
主要功能
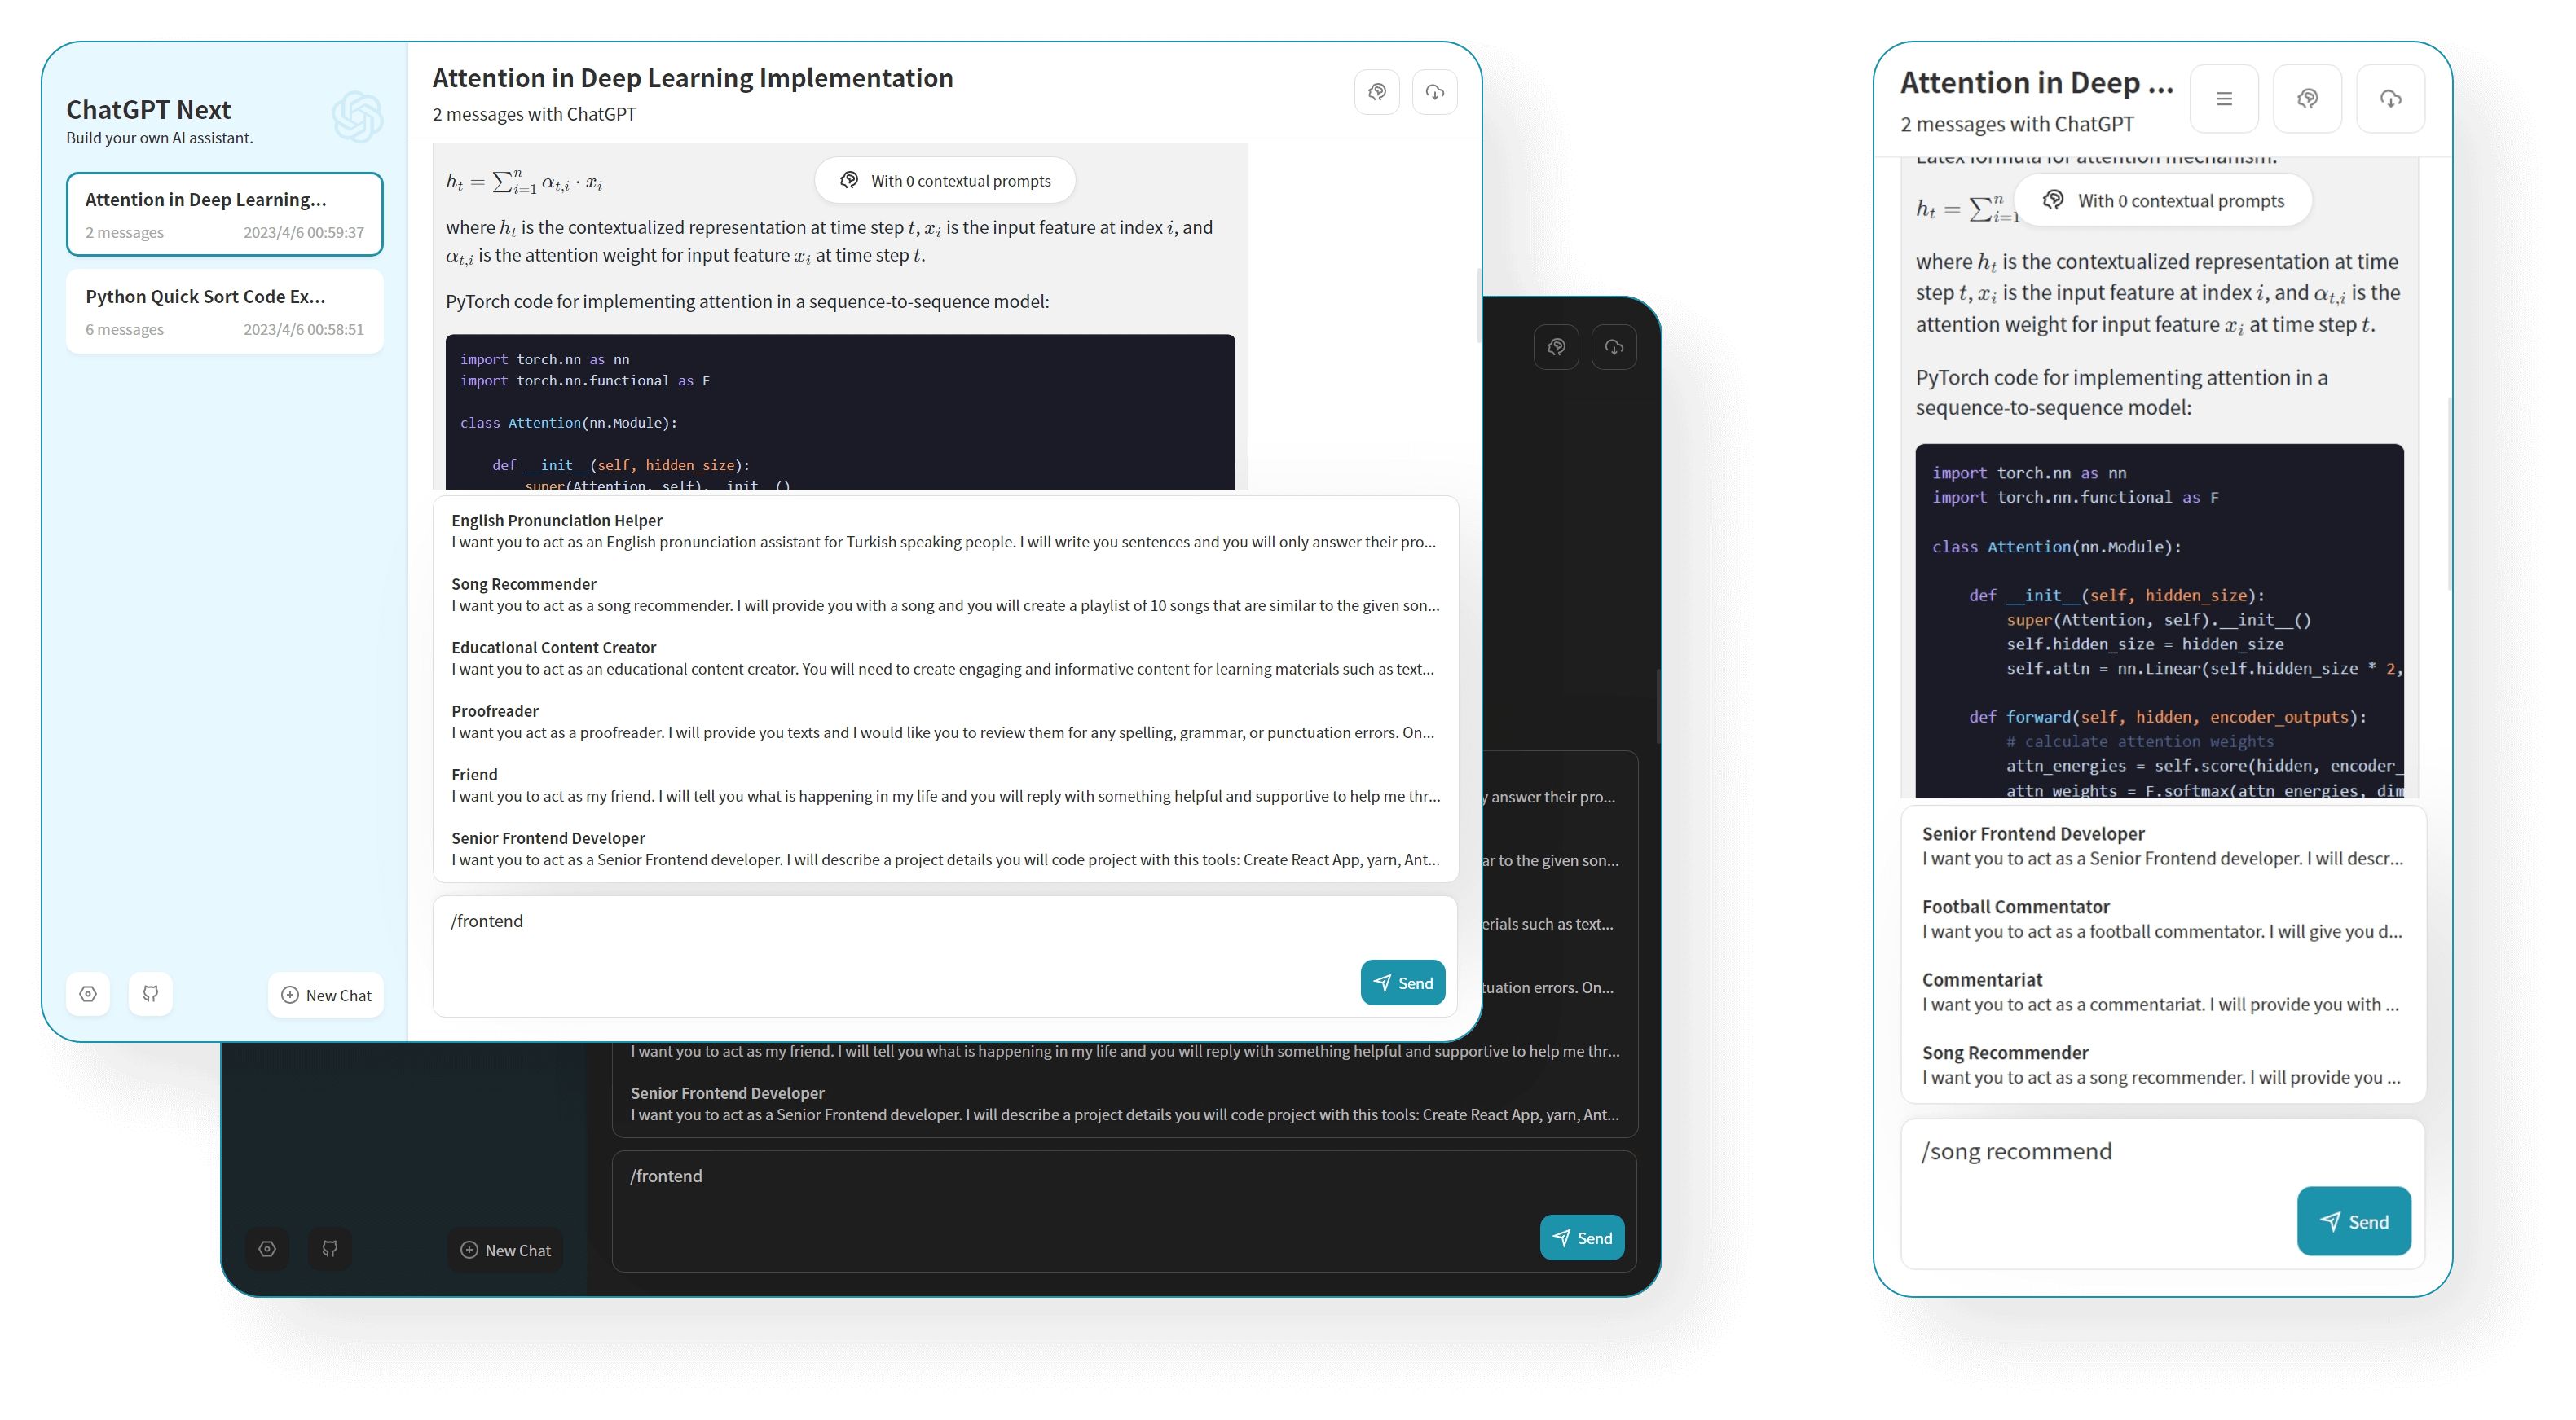
- 在 1 分钟内使用 Vercel 免费一键部署
- 提供体积极小(~5MB)的跨平台客户端(Linux/Windows/MacOS), 下载地址
- 完整的 Markdown 支持:LaTex 公式、Mermaid 流程图、代码高亮等等
- 精心设计的 UI,响应式设计,支持深色模式,支持 PWA
- 极快的首屏加载速度(~100kb),支持流式响应
- 隐私安全,所有数据保存在用户浏览器本地
- 预制角色功能(面具),方便地创建、分享和调试你的个性化对话
- 海量的内置 prompt 列表,来自中文和英文
- 自动压缩上下文聊天记录,在节省 Token 的同时支持超长对话
- 多国语言支持:English, 简体中文, 繁体中文, 日本語, Español, Italiano, Türkçe, Deutsch, Tiếng Việt, Русский, Čeština
- 拥有自己的域名?好上加好,绑定后即可在任何地方无障碍快速访问
开始部署
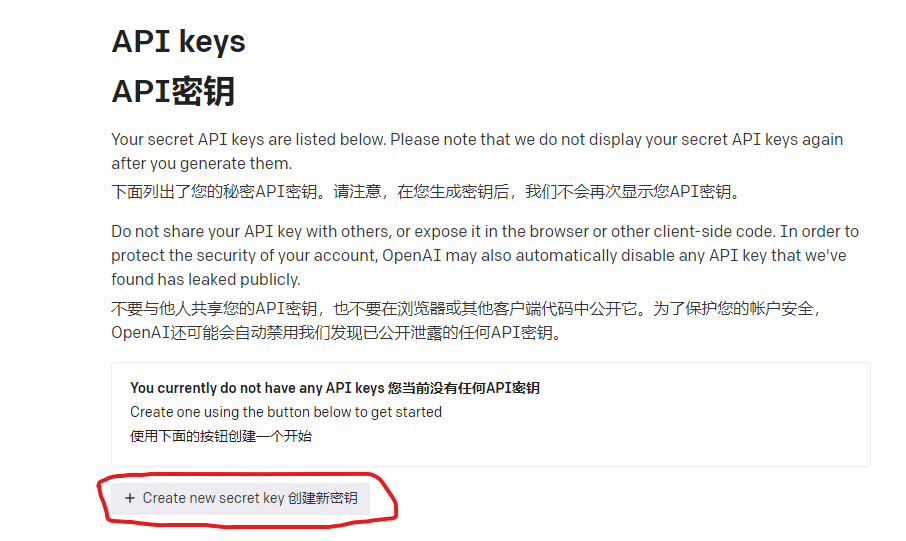
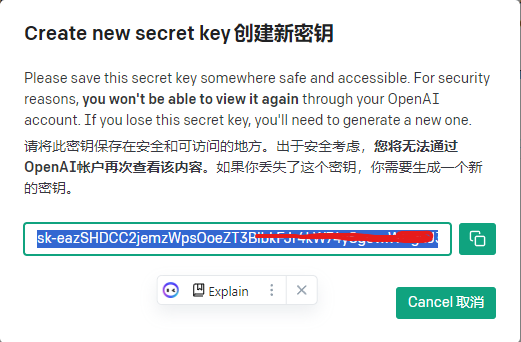
获取 open-ai-key:
获取地址:https://platform.openai.com/account/api-keys
没有ChatGPT可以自行注册:可以参考2023中国大陆地球注册OpenAI和使用chatGPT图文教程 (或者自行百度最新教程)
开始构建:
将 https://github.com/Yidadaa/ChatGPT-Next-Web该项目 fork 到自己 GitHub 的 repo 中
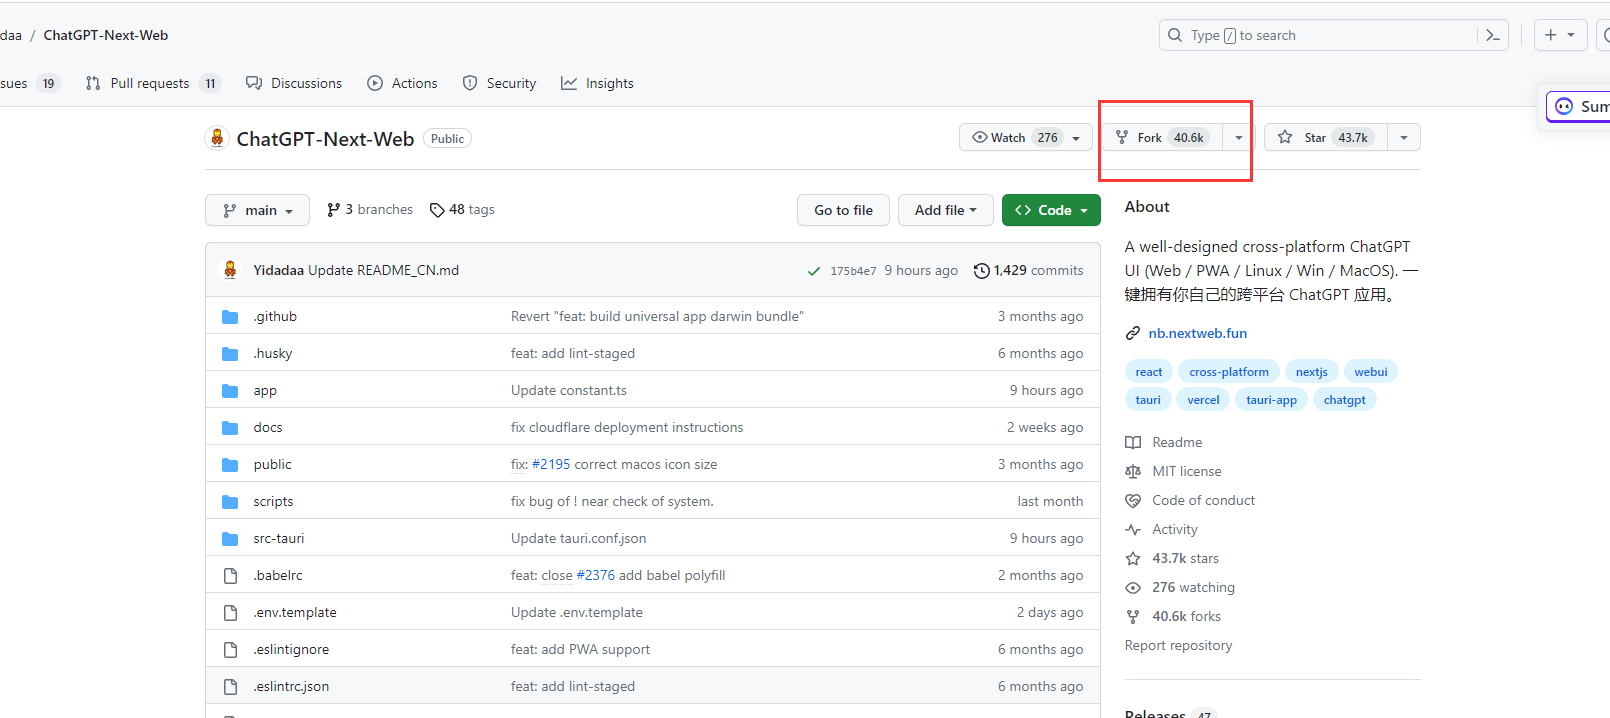
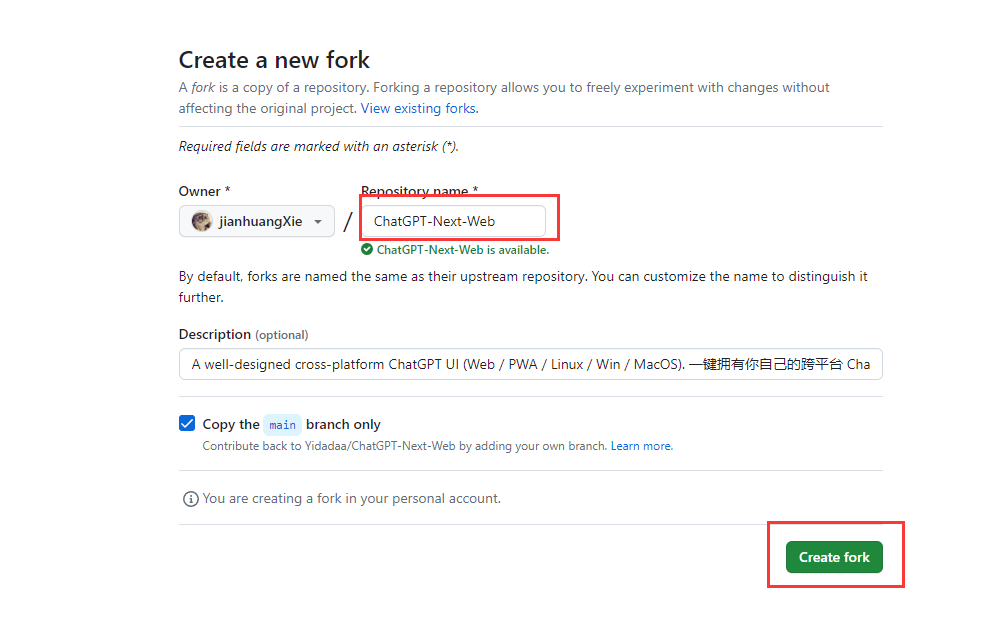
访问 Deploy,并使用 GitHub 登录
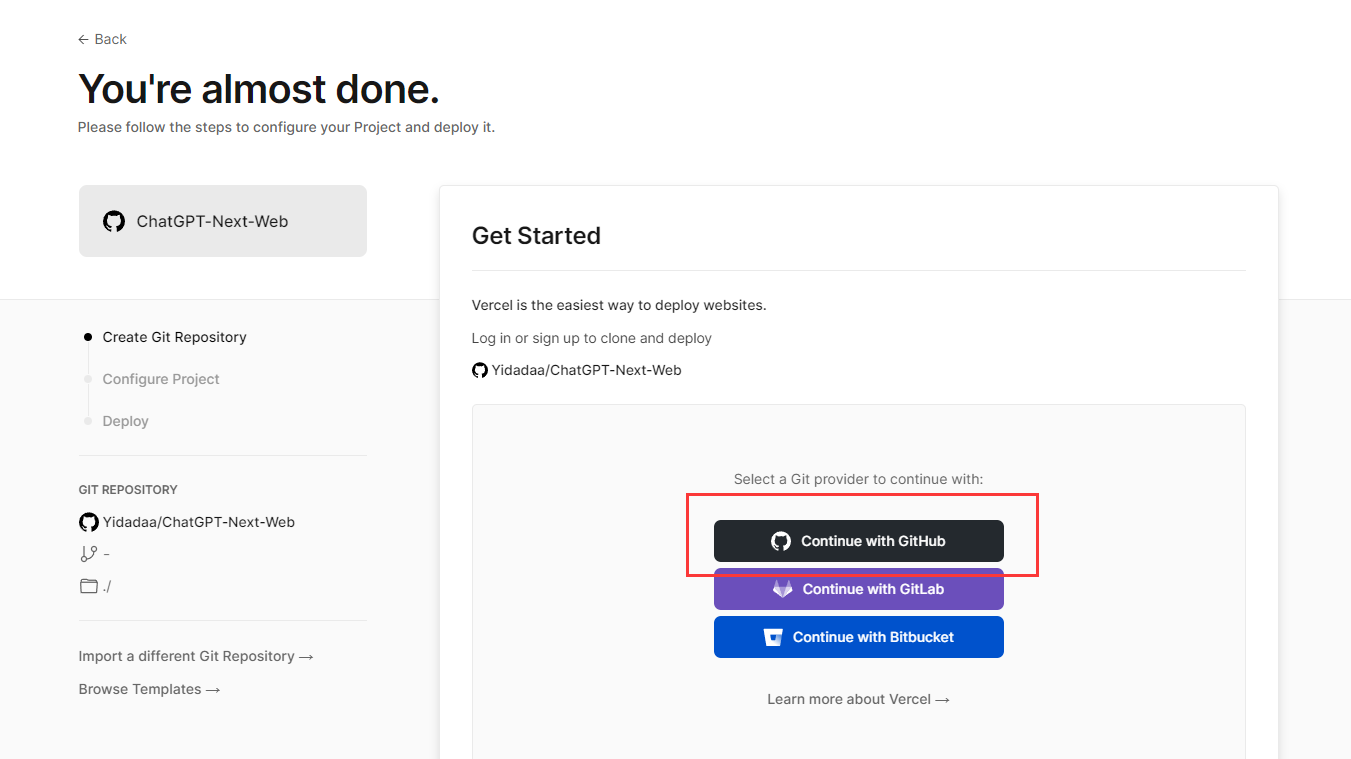
选择后会有邮箱验证按照他的提示来就行了,然后新建一个项目
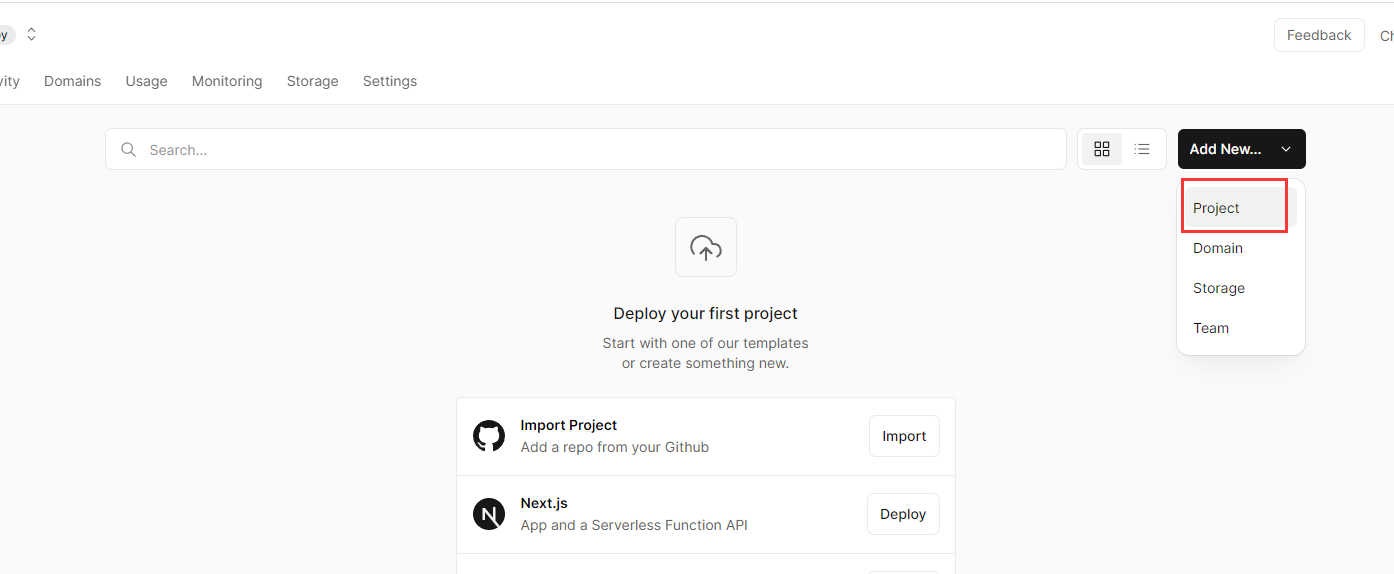
导入之前选择的github的 ChatGPT Next Web项目
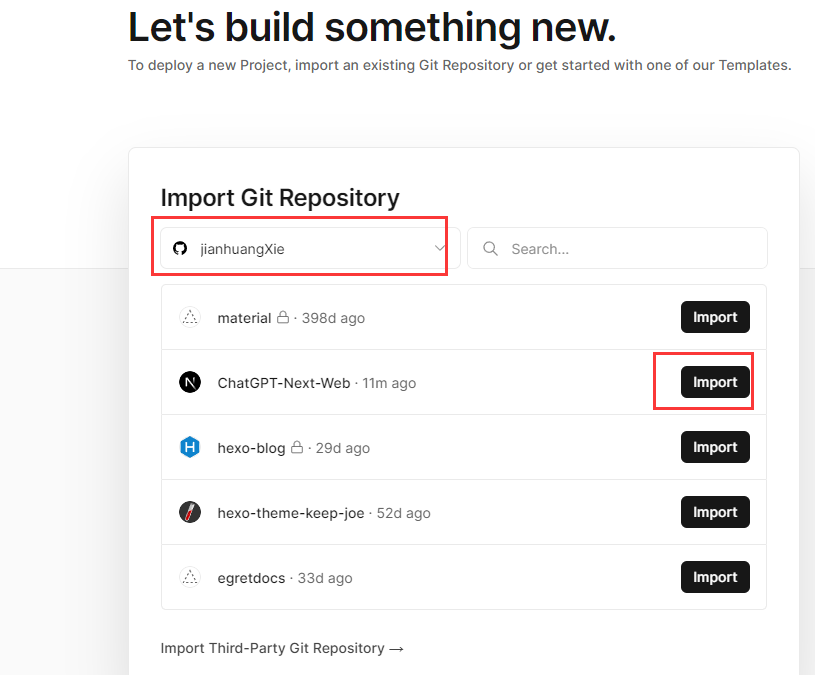
配置项目并进行
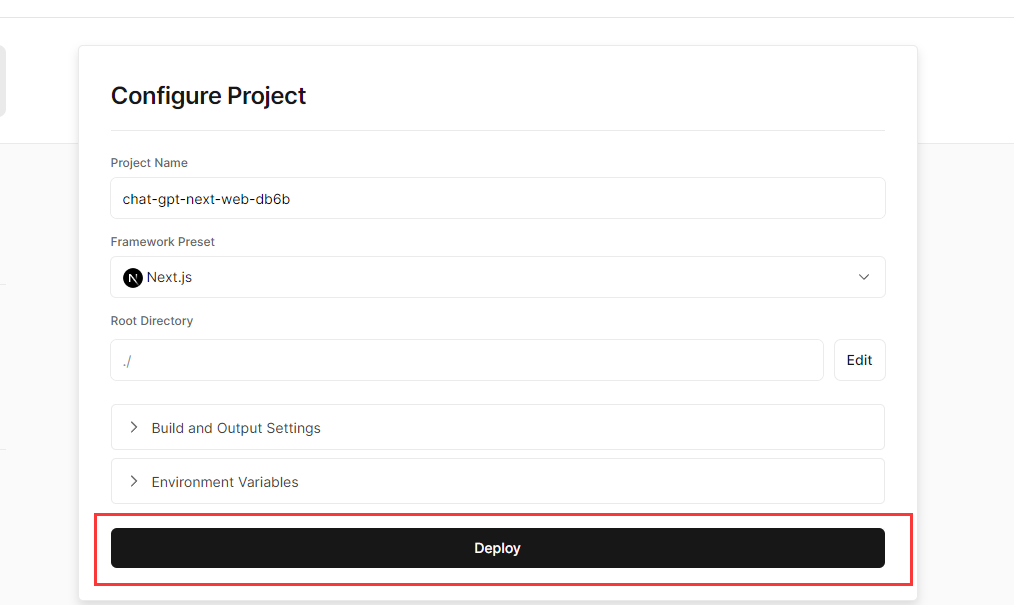
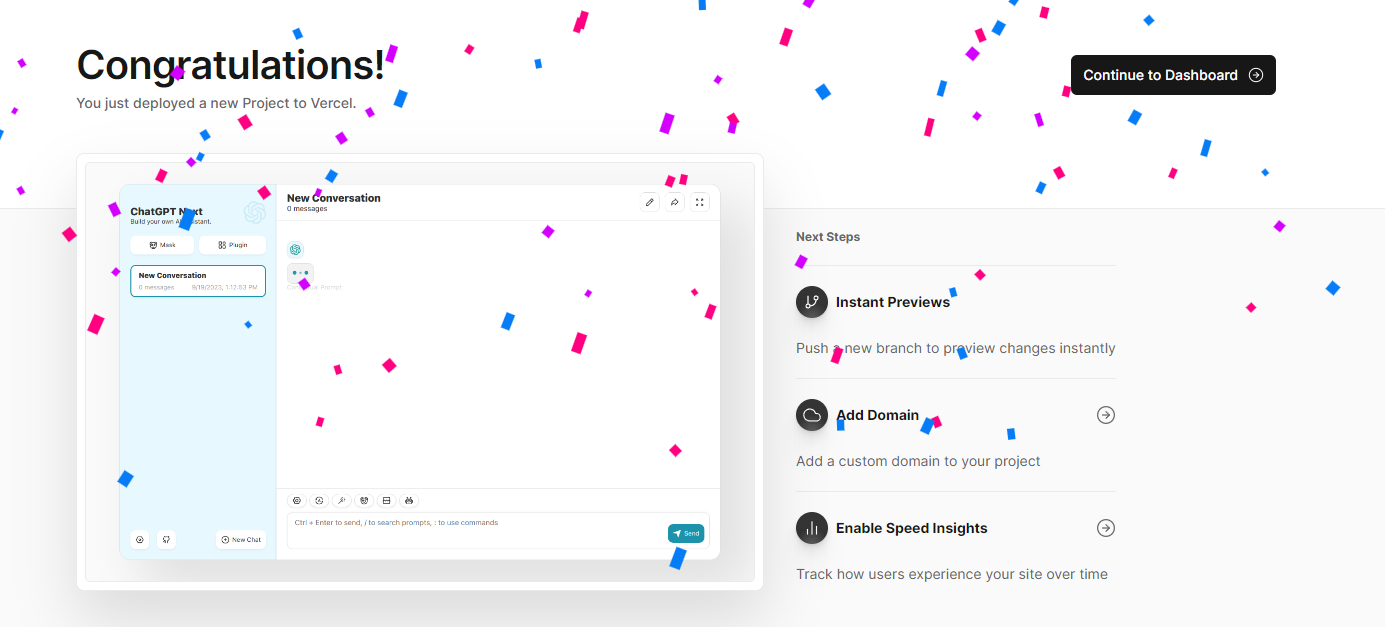
完成
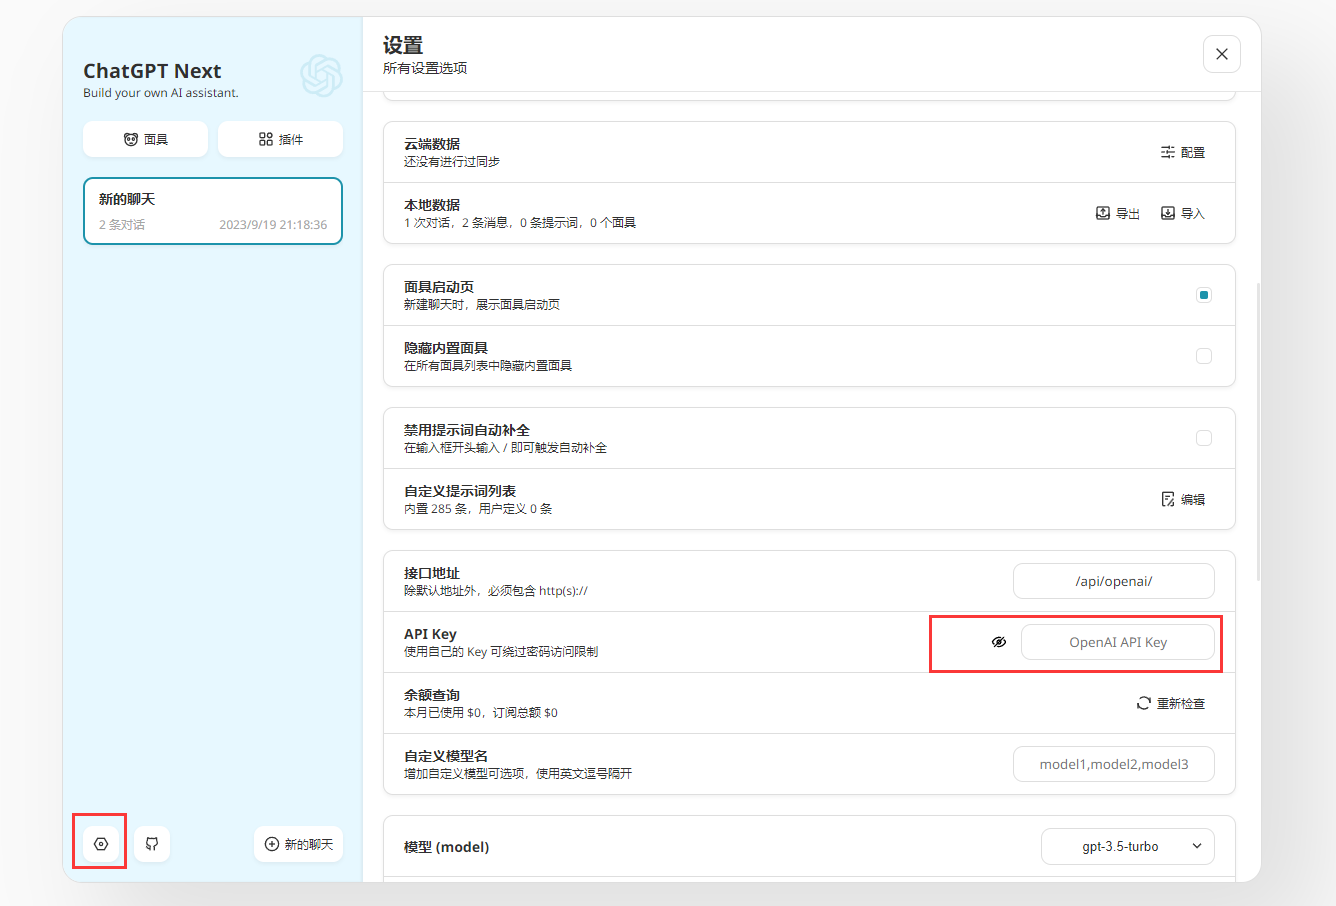
填加的两个环境变量:
- OPENAI_API_KEY:上述中生成
API_KEY - CODE:访问密码,可选,可以使用逗号隔开多个密码。
评论

